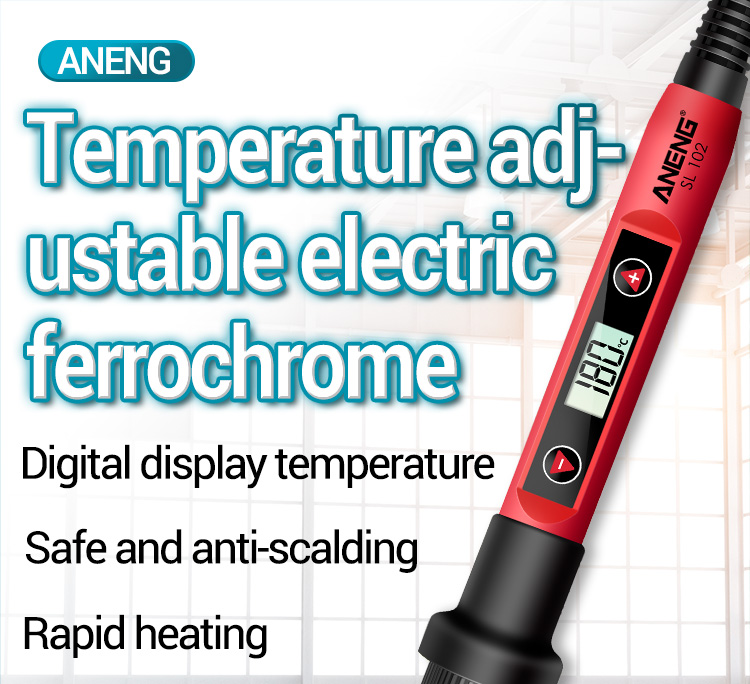
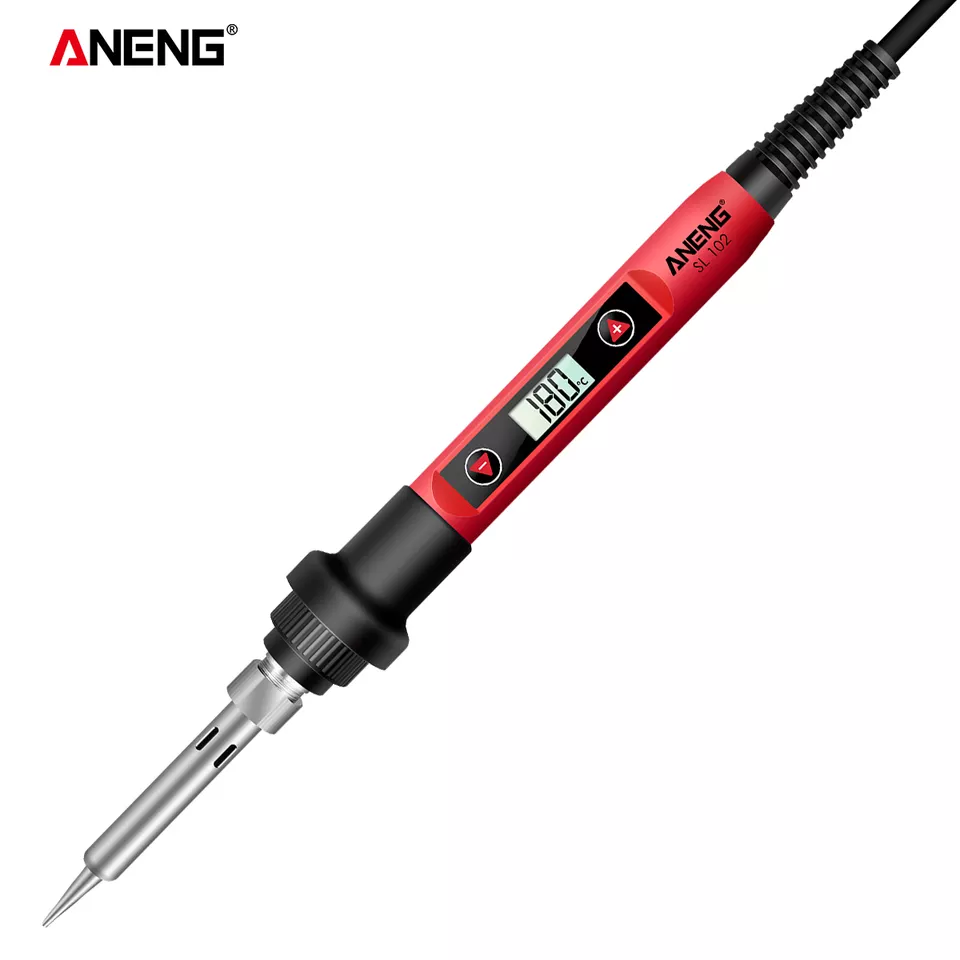
Specifications of ANENG SL102
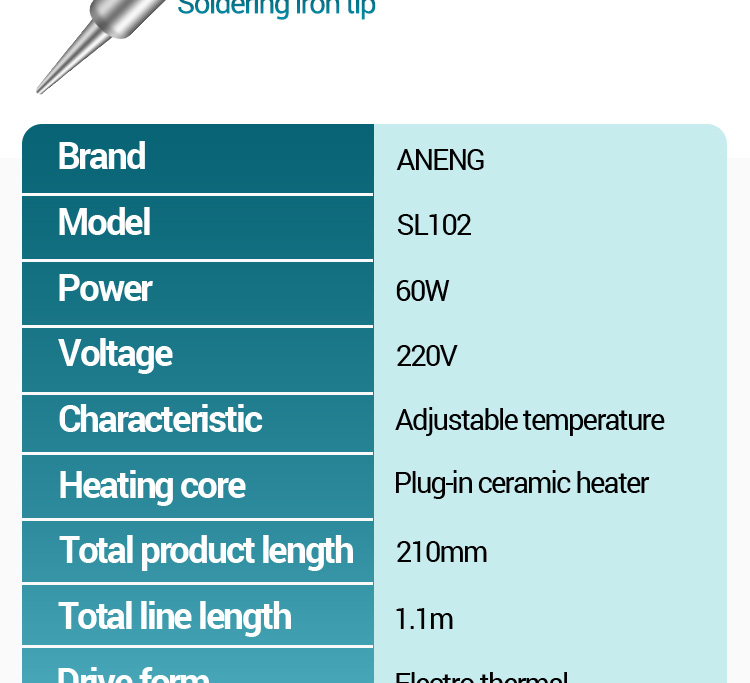
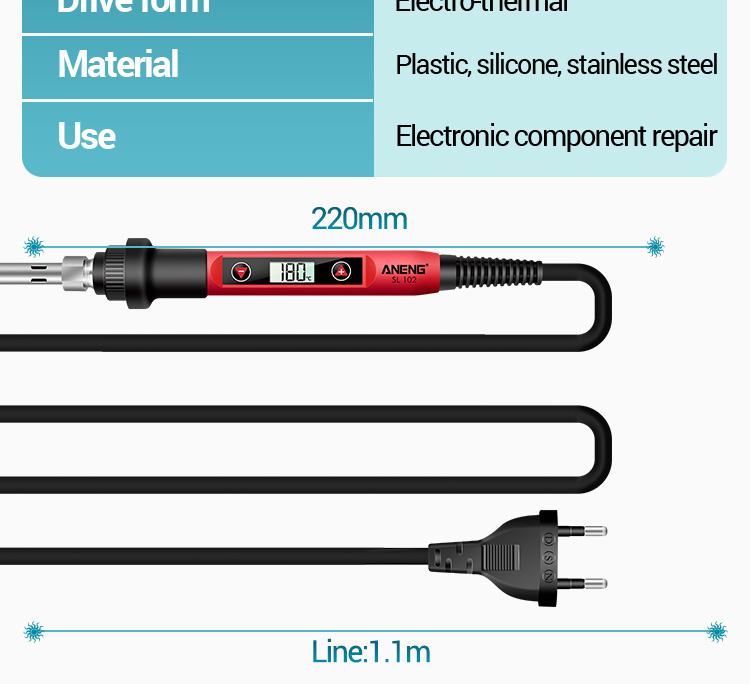
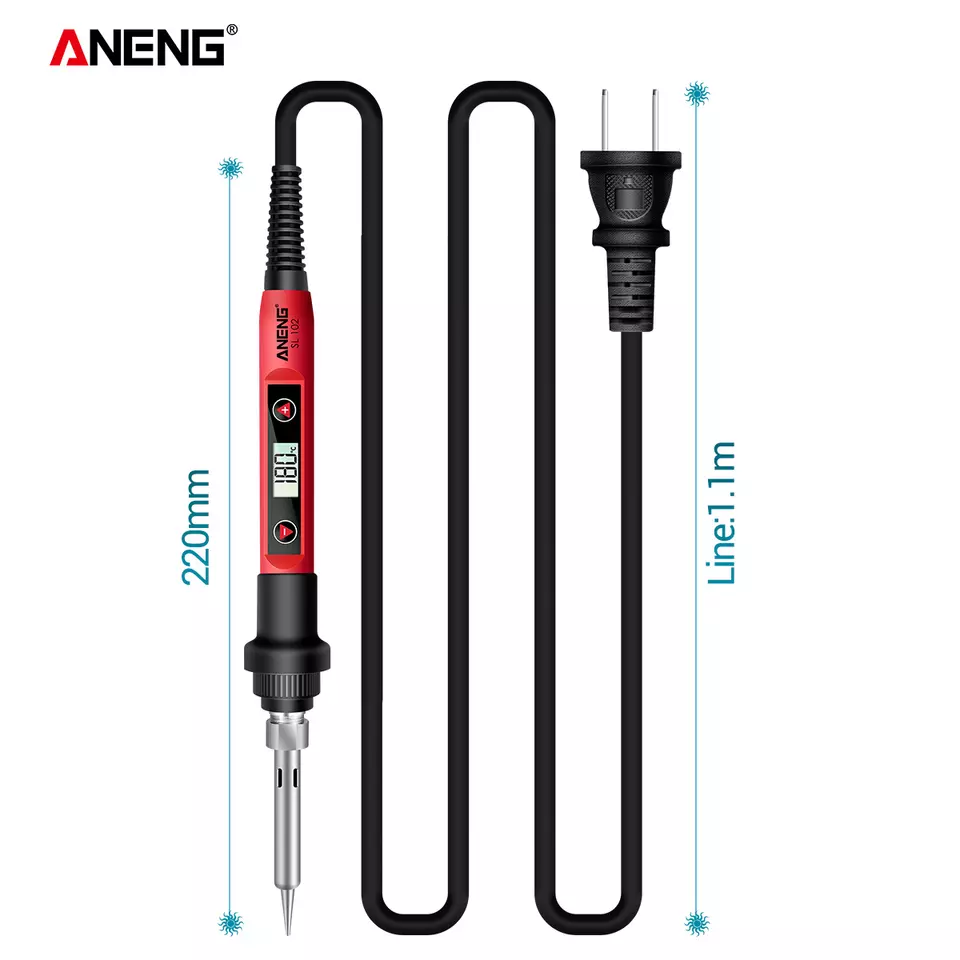
1. Working voltage: AC240~200V 50HZ/AC110V 60HZ
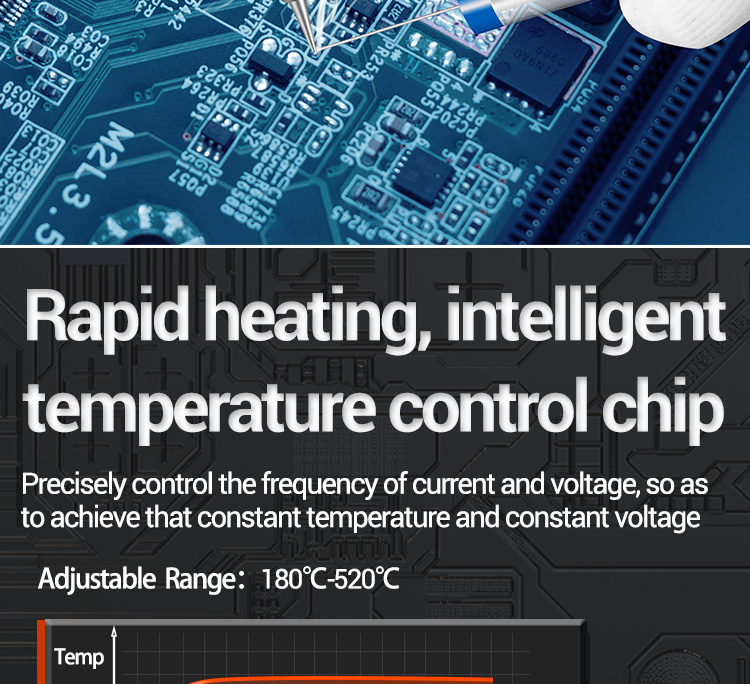
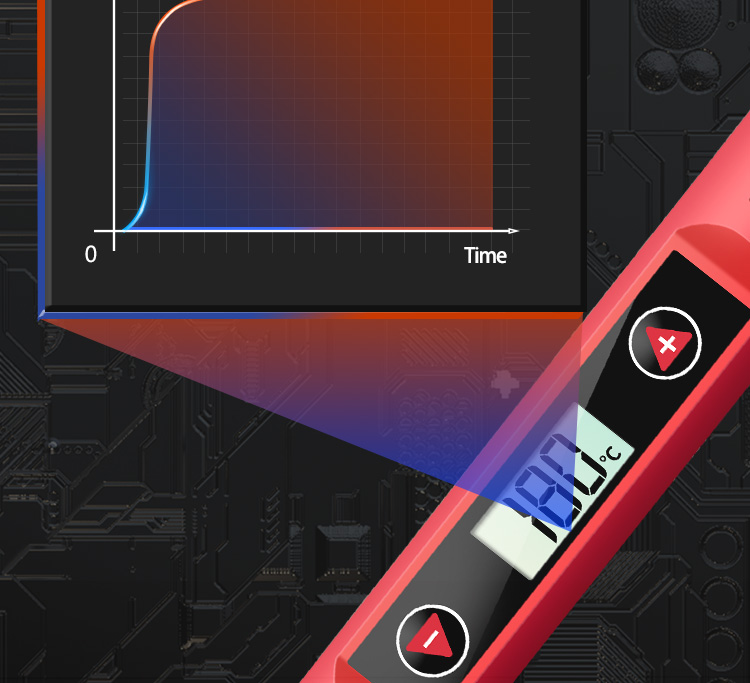
2. Temperature range: 180~520℃, the error after calibration is less than +/-5℃
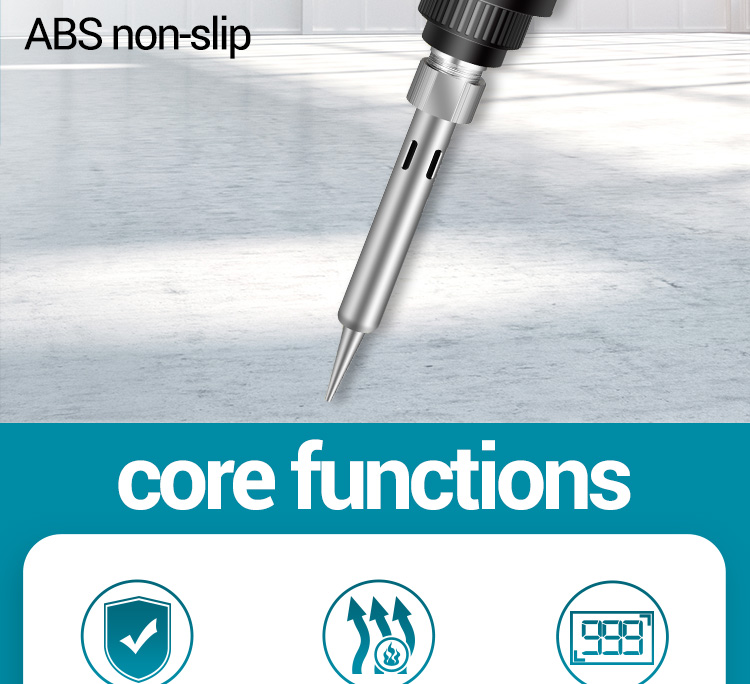
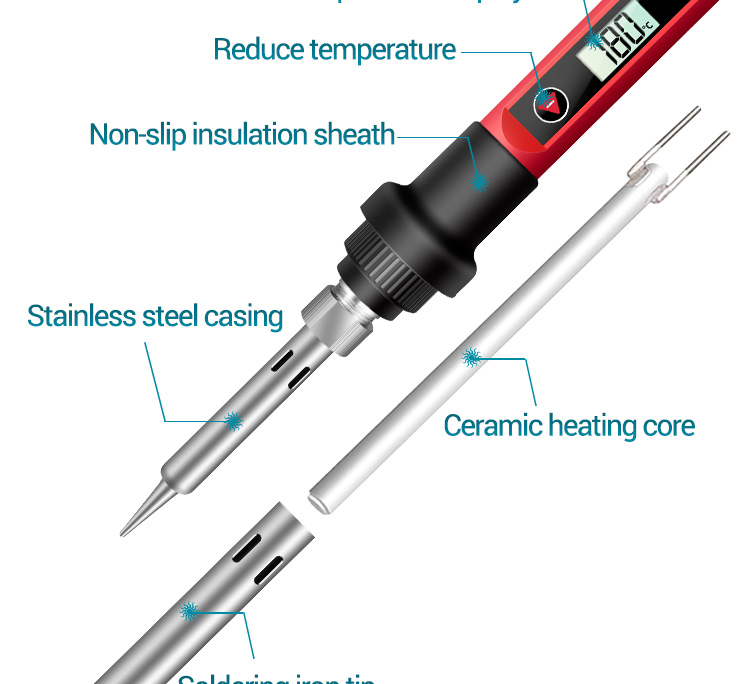
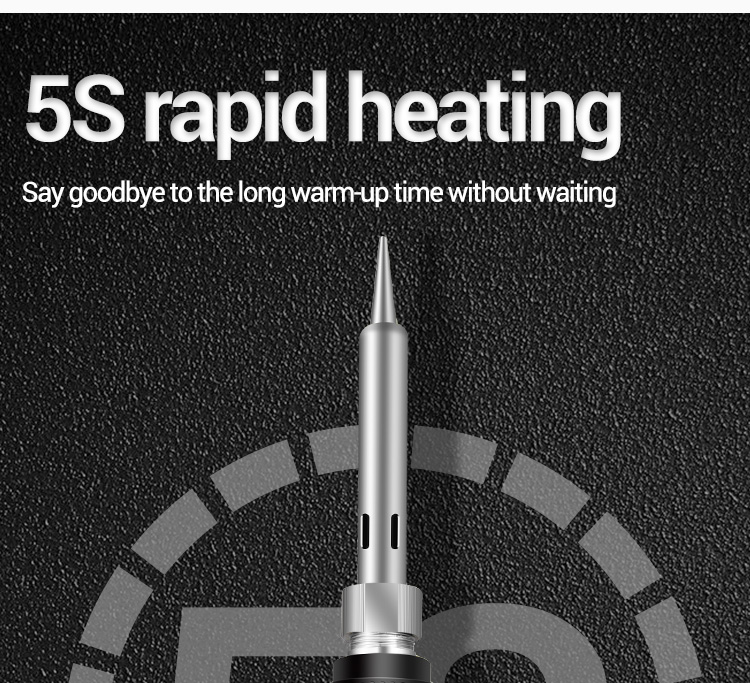
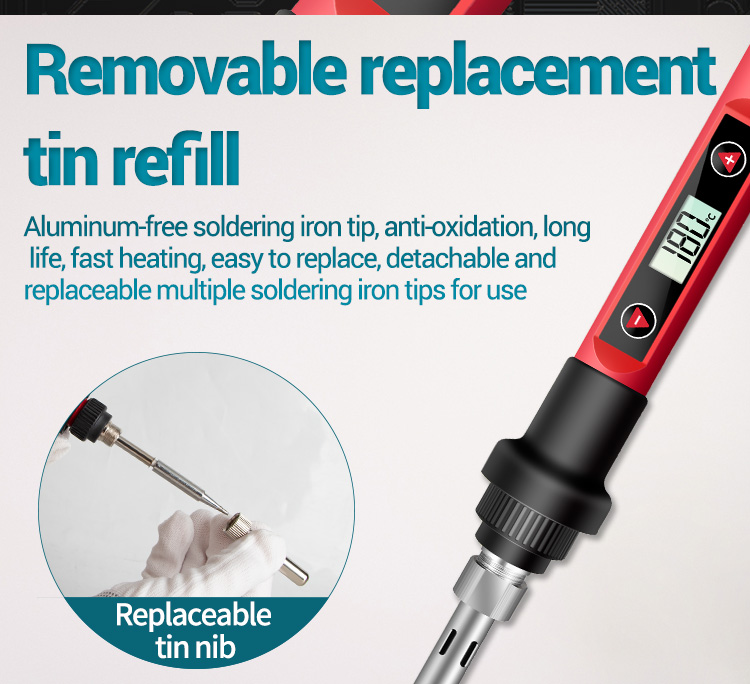
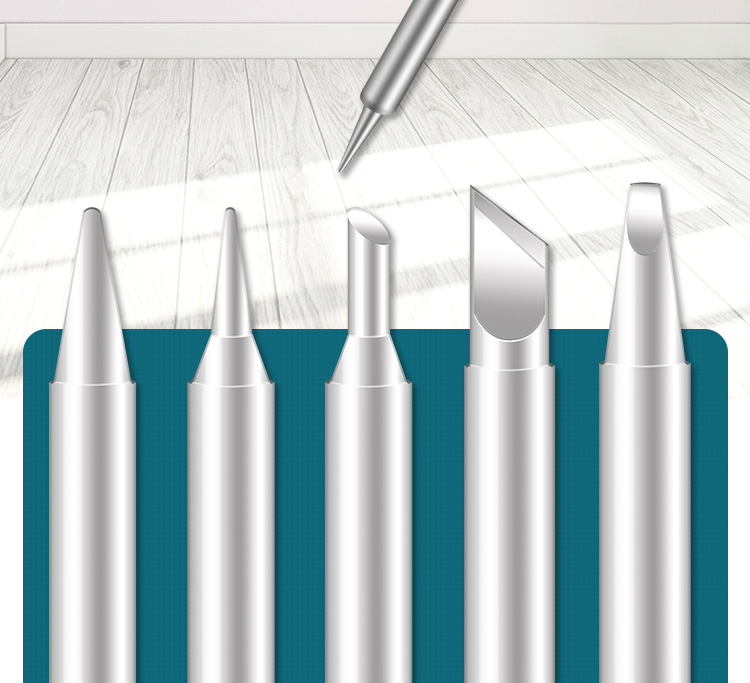
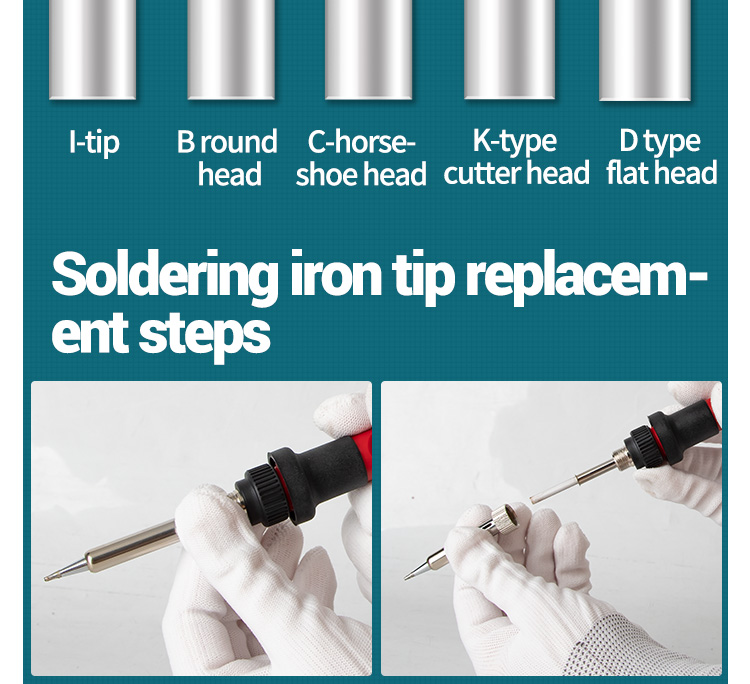
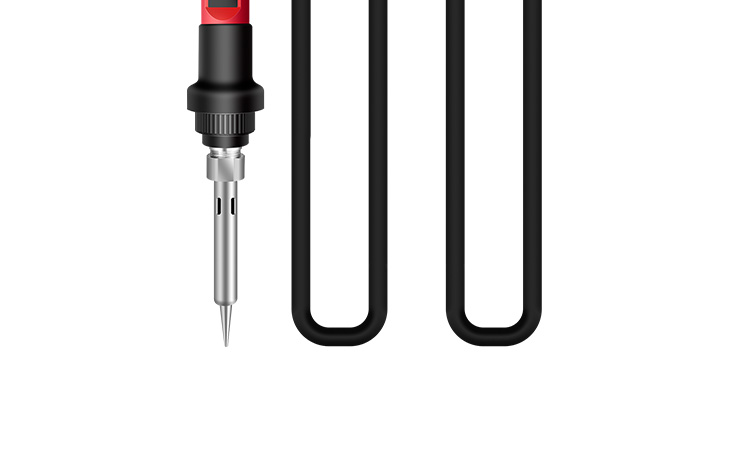
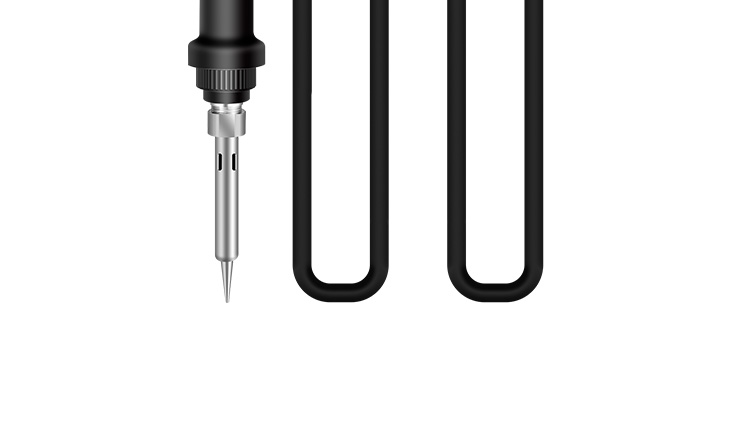
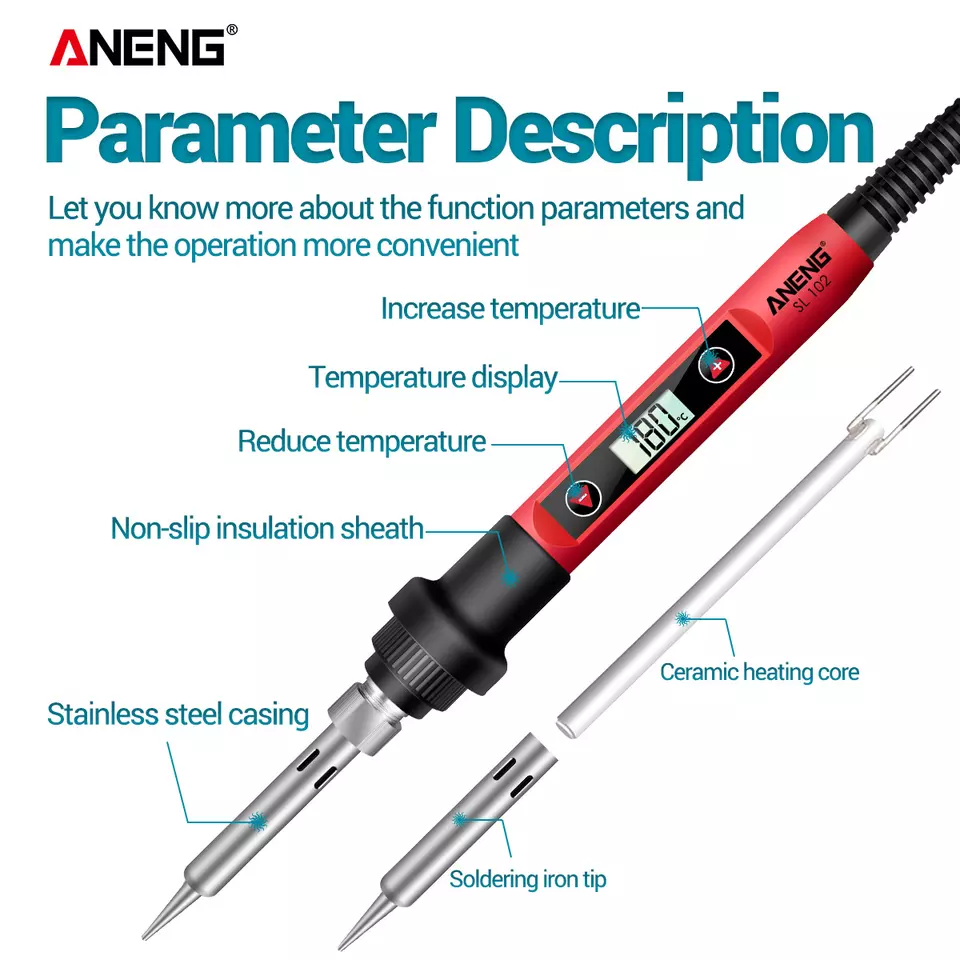
3. Use 900 series soldering iron tip, plug-in heating core
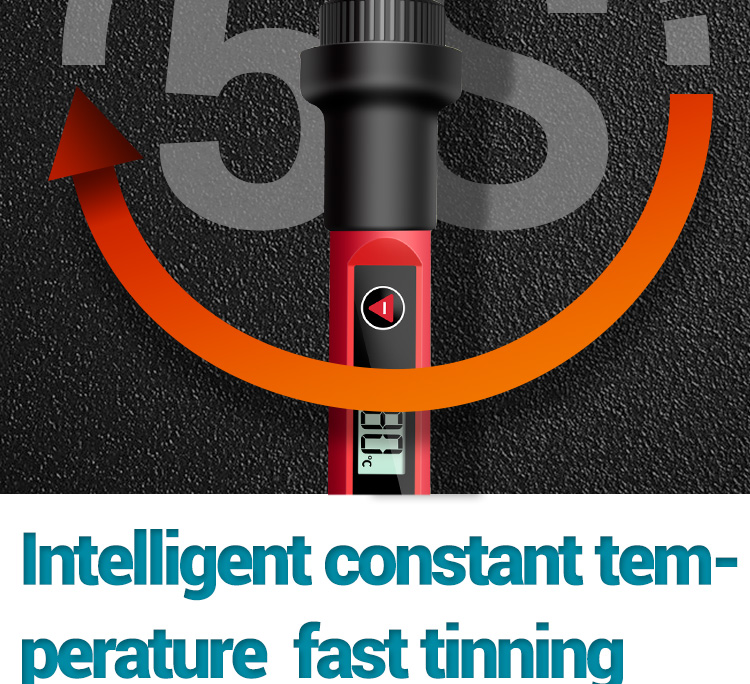
4. Tin time: 18~20s
5. Alarm: EAO heating element is open
6. Set temperature operation:
(1) Press the + button once to increase the temperature, and long press the + button to increase the temperature continuously.
(2) Press the – button to decrease the temperature, long press the – button to decrease the temperature continuously.
(3) When there is no button for 3 seconds, the newly set temperature will be memorized, and the temperature will be kept at the next startup.
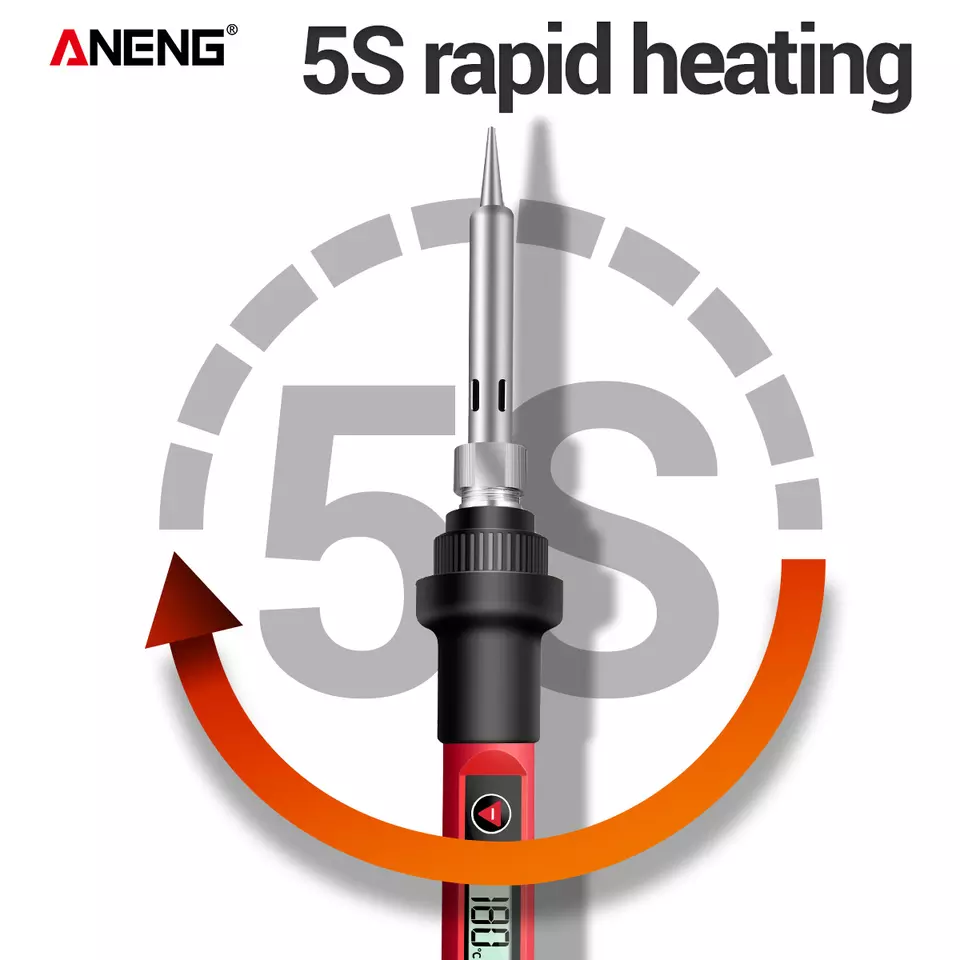
(4) When the heating core reaches the set temperature, the temperature of the soldering iron tip can reach the set value after about 30~50s.
7. Calibration operation: (Generally choose 320 degree calibration.)
(1) Put the soldering iron tip on the thermometer after powering on for 90s, and add solder to the soldering iron tip to make the soldering iron tip and the thermocouple fully contact.
(2) Wait 2~4s after the thermometer shows that the temperature stabilizes, and record the temperature of the thermometer.
(3) Remove the soldering iron from the thermometer and press + and -at the same time to enter the temperature calibration interface.
(4) Input adjustment amount:
E.g:
Set the temperature to 290°C, and the actual measured temperature is 282°C, then press to display 08°C on the LCD,
Set the temperature to 290°C, and the measured temperature is 300°C, then press to display -10°C on the LCD.
(5) Press the + and – button at the same time to exit the temperature calibration interface.
8. C/F conversion:
Press the + and-keys at the same time when the power is not turned on. Do not release them at the same time. When the power is turned on, release the two keys when you see the LCD display. Then you will enter the setting menu. Press the + key to select C/F, and press the two keys at the same time to exit the setting. In the setting state, stop heating, and start heating after exiting.
Package Included:
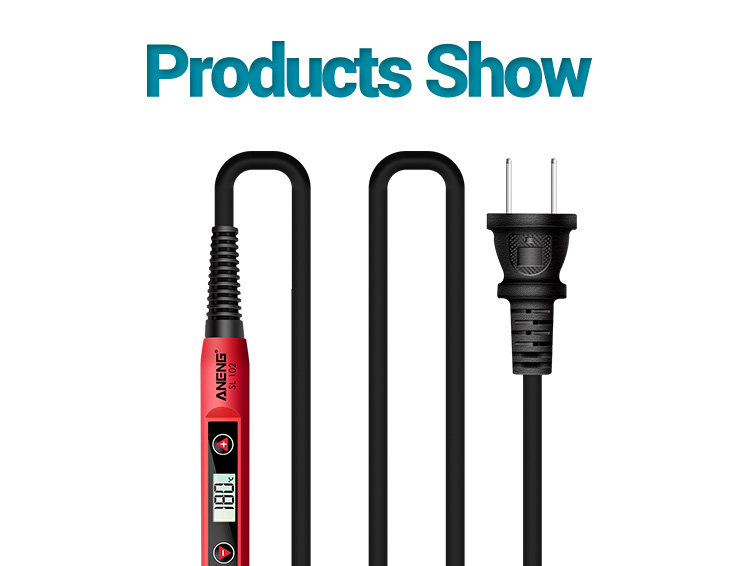
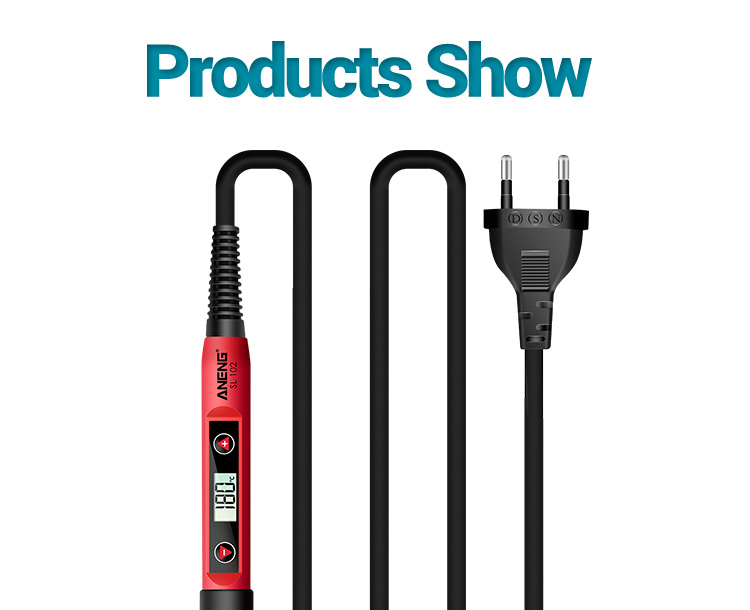
1 x Soldering Iron
Deliver as you choose
(There are two specifications of US/ EU Plug)



Reviews
There are no reviews yet.